Setup a Cosmos-native wallet to hold CHEQ and carry out cheqd Network functionality, such as staking and governance.
Disclaimer: All information provided is intended to help users get set up on cheqd. However, we do not expressly recommend or mandate a certain approach. All actions taken are your personal responsibility.
When issuing credentials using the cheqd network, both testnet and mainnet, you will need to hold tokens to pay for the transaction. In this guide we offer options for setting up a wallet and adding cheqd's mainnet and testnet.
Leap Wallet
Manage your CHEQ natively through the Leap Wallet with full support on desktop, browser and mobile.
Keplr Wallet
Add the cheqd extentsion to your Keplr Wallet to get support on Keplr browser and desktop.
Migrate from Keplr to Leap Wallet
Import your Keplr Wallet into Leap to access full cheqd support, including mobile app compatibility.


Learn how to setup your Leap Wallet to access CHEQ and participate in the cheqd Network.
Disclaimer: All information provided is intended to help users get set up on cheqd. However, we do not expressly recommend or mandate a certain approach. All actions taken are your personal responsibility.
Leap Wallet is the easiest way to get started managing your CHEQ tokens. Using Leap Wallet you can manage your tokens across desktop, mobile and browser.
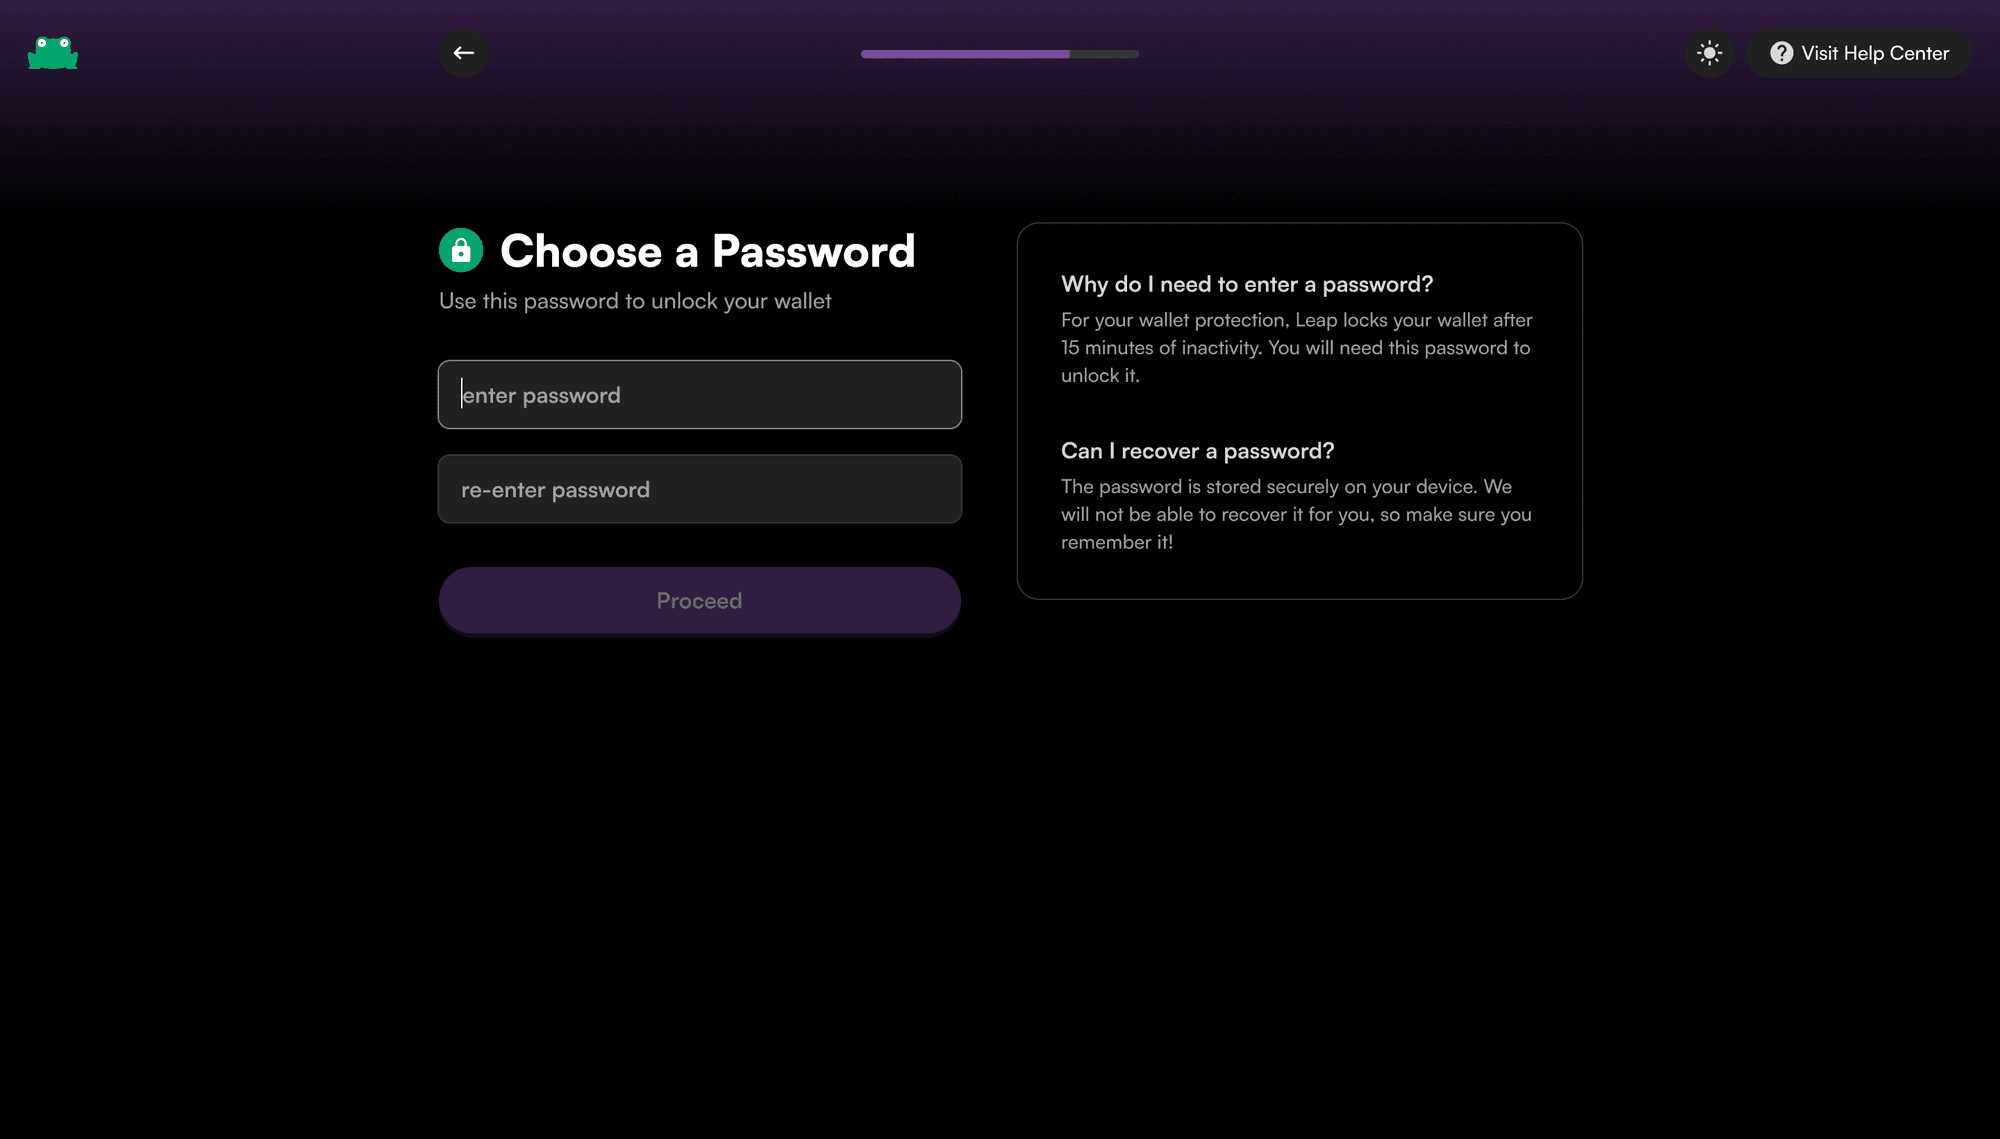
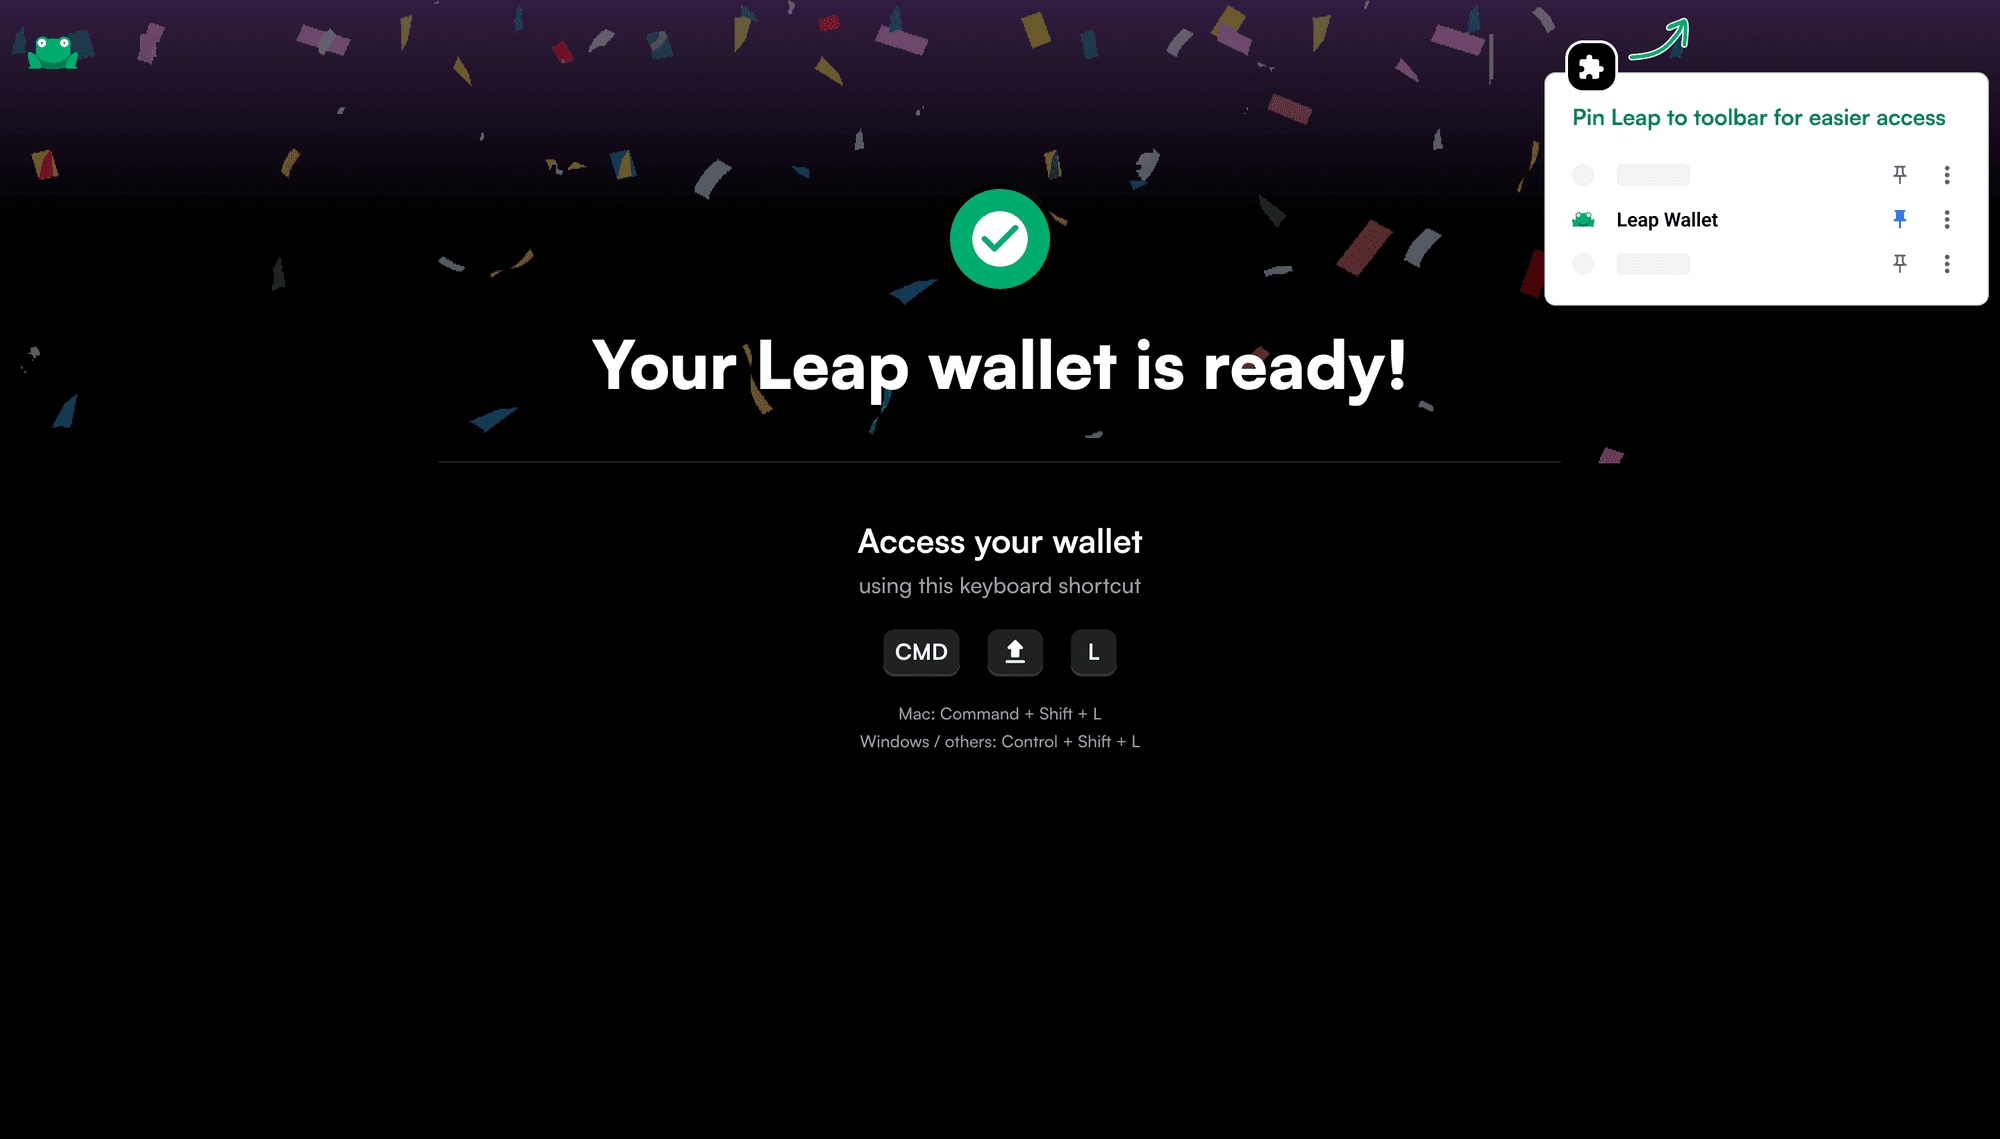
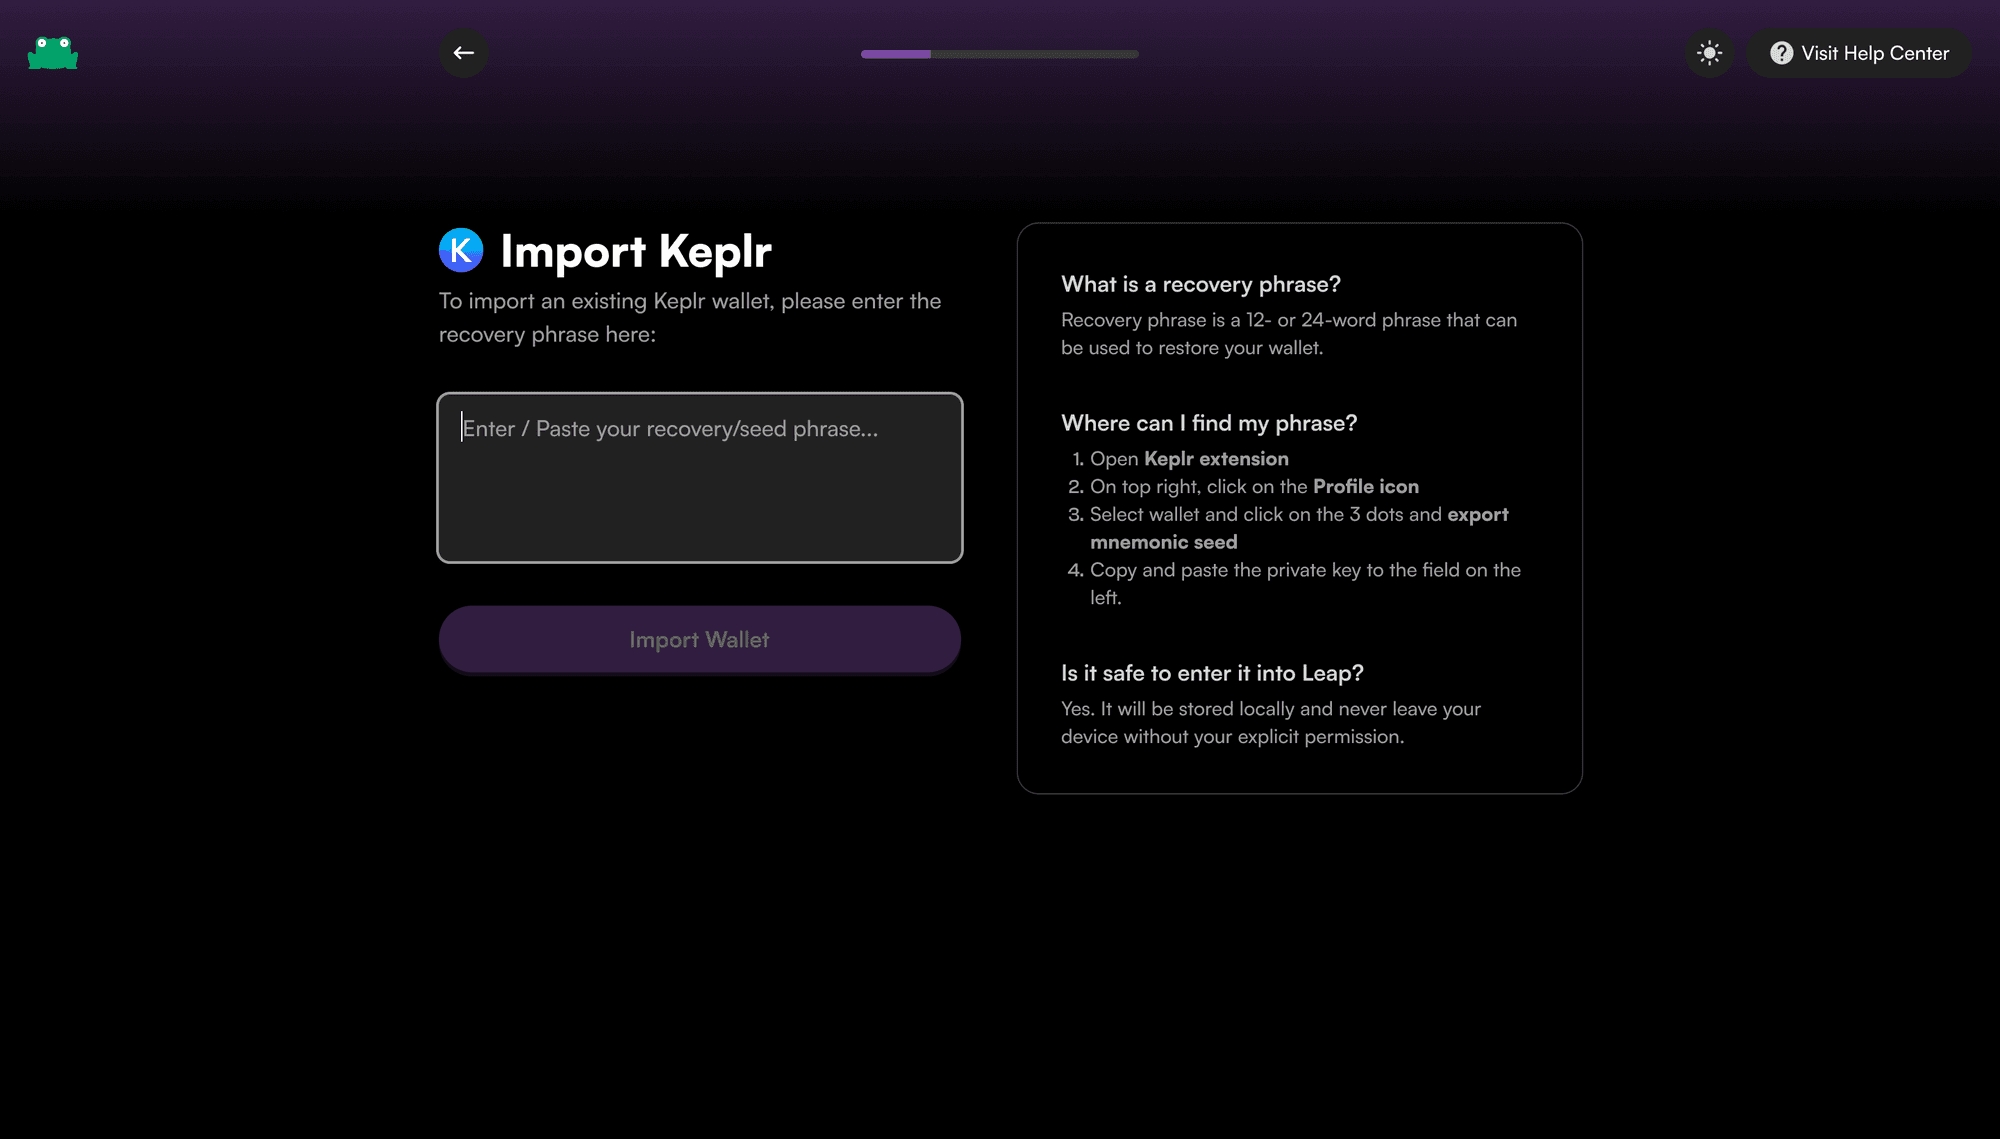
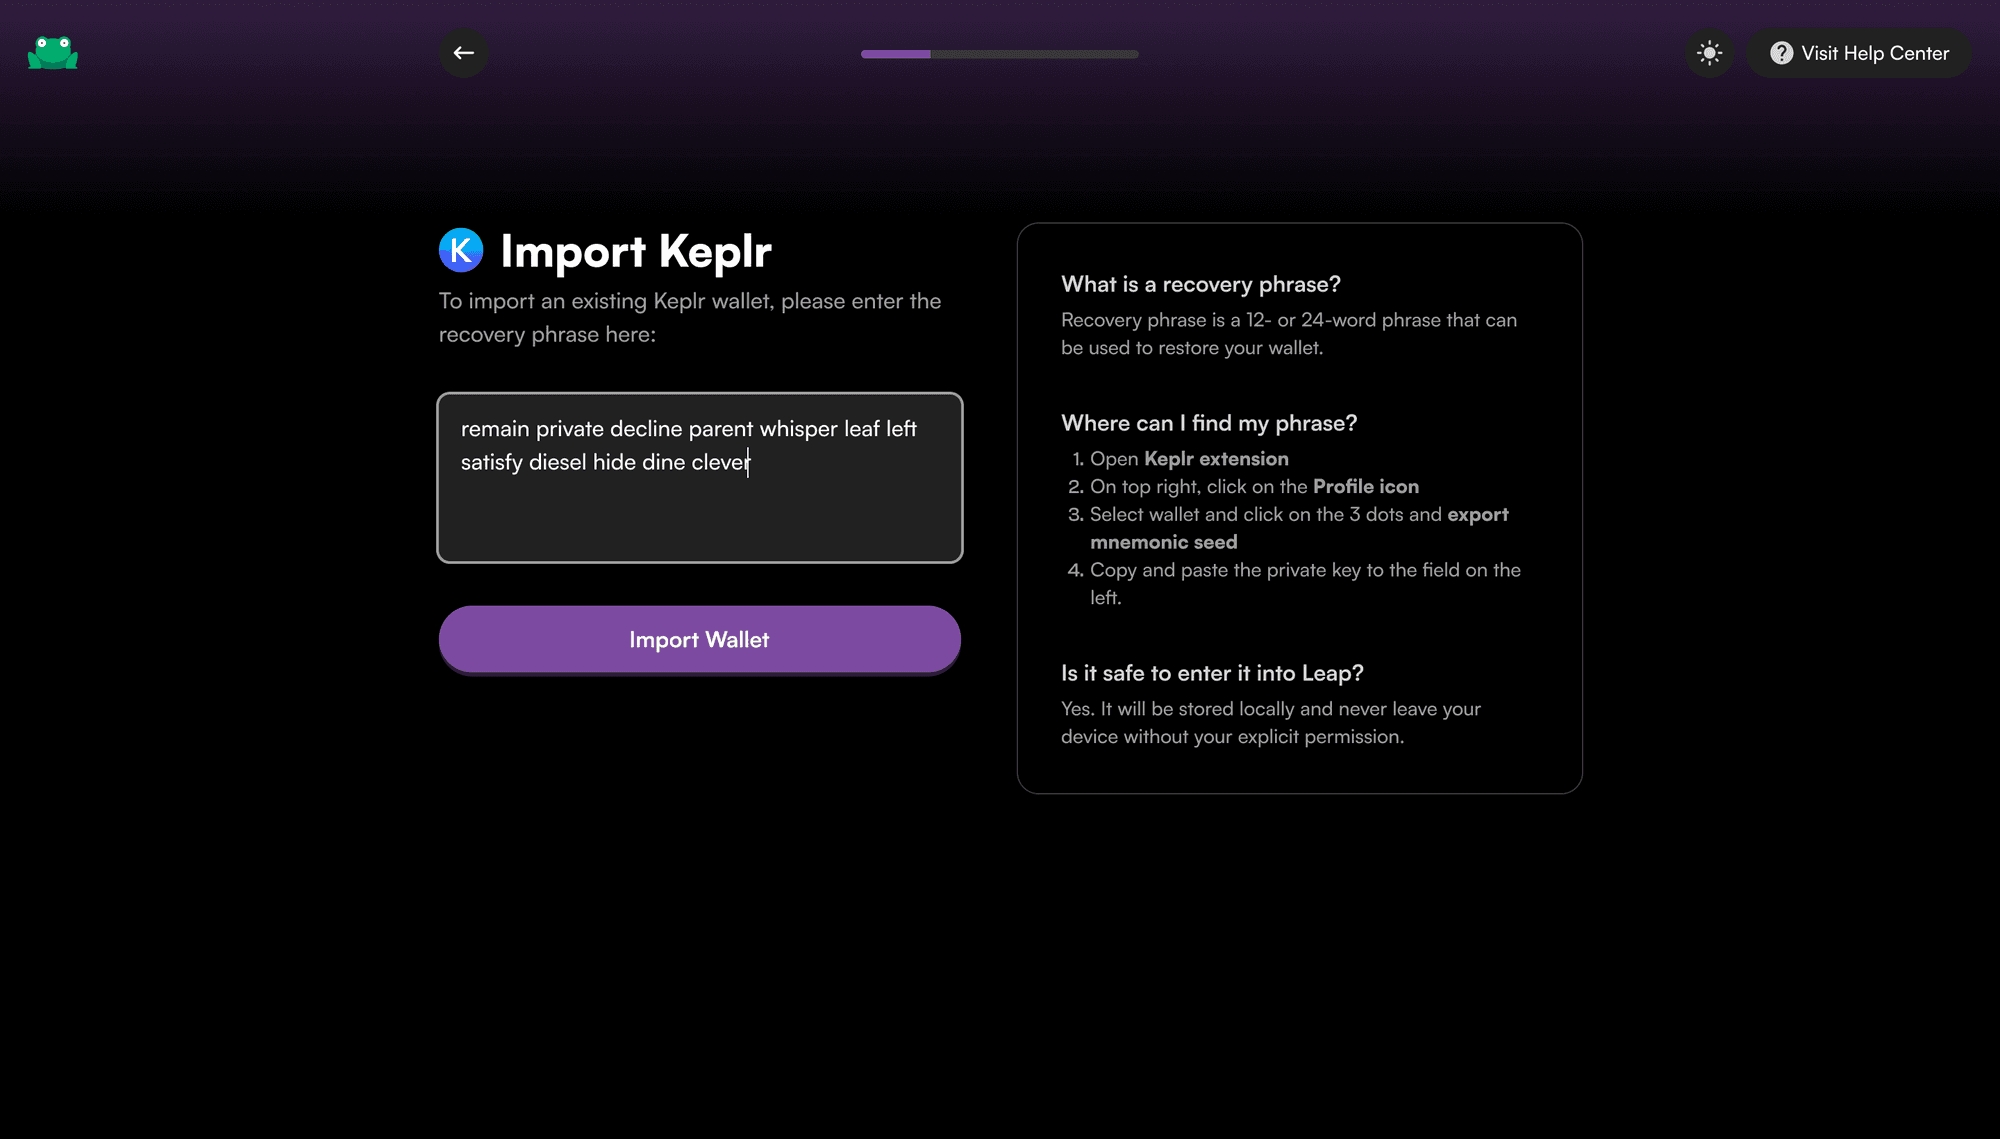
How to Import your Keplr wallet into Leap Wallet.
Follow these 4 easy steps:
Click on the link here to install the Leap wallet for your browser.
Click the "Switch Chain" icon in the top right
Click the "+" sign beside the "Search chains" box
To get testnet tokens go to the faucet at https://testnet-faucet.cheqd.io/, enter your address and the faucet will send you 100,000 $CHEQ testnet tokens.
Learn how to setup your Keplr Wallet to access CHEQ and participate in the cheqd Network.
Disclaimer: All information provided is intended to help users get set up on cheqd. However, we do not expressly recommend or mandate a certain approach. All actions taken are your personal responsibility.
In this guide we'll share how to setup a Keplr Wallet which you can use for paying for transactions on the cheqd network. We'll also share how to add the cheqd mainnet and testnet to your Keplr wallet.
Go to the to find the relevant extension for your browser. If you’re using Chrome, which we’d recommend,
Create an Account via Secret Seed/mnemonic Phrase
By clicking on the Keplr browser icon for the first time will take you to the accounts setup page. Choose option Create new account.
In order to see $CHEQ in your Keplr wallet, you’ll need to follow the steps below which enables Keplr to auto-discover the cheqd network. Sign in to your Keplr wallet on your browser (do not use the mobile app).
Go to our dashboard on .
Click “Connect” in the top right corner to link your Keplr to the dashboard.
You will see a pop-up that asks you to approve adding cheqd-mainnet-1 to your Keplr wallet.
Click “Approve”.
To get CHEQ tokens to pay for transactions, head to and select one of the options available.
You can then send the tokens from wherever you choose to purchase to the wallet you have setup in the previous step.
Simple copy the wallet address, starting cheqd1 into your chosen option.
Go to the Axelar Netork documentation to
Scroll to Add your custom network
In space provided, paste the full contents of cheqd chain testnet information listed below
Go to the
Select start
Enter the cheqd wallet address you'd like to use
Select
Save this phrase in a secure place but also do not lose it. You’ll need to input this phrase into the following page.
Next, enter a name for your account and password (you can change these later). Click Next.
To confirm the creation of this new account, you’ll need to click on the words in the right order in which they appear in your seed/mnemonic phrase and press Register.
Congratulations! 🎉 You are now the owner of a Keplr wallet account and are ready to explore the interchain.
On the Keplr extension in your browser, click the drop down menu at the top. Scroll down to below “ — — Beta support — — ” where you will find the cheqd wallet.
You will now be able to see your balance in $CHEQ.
See the link here for further instructions on sending $CHEQ, staking and other information, with helpful screenshots.
Validate Input & Add to KeplrYou have now added the cheqd testnet to Keplr. This network uses the SAME mnemonic that was used when setting up the account\
continueYou'll now recieve cheqd testnet tokens
You can also go to the cheqd testnet explorer to confirm the tokens have been sent
{
    "chainId": "cheqd-testnet-6",
    "chainName": "cheqd Testnet",
    "rpc": "https://rpc.cheqd.network",
    "rest": "https://api.cheqd.network",
    "stakeCurrency": {
        "coinDenom": "CHEQ",
        "coinMinimalDenom": "ncheq",
        "coinDecimals": 9,
        "coinGeckoId": "cheqd-network"
    },
    "walletUrlForStaking": "https://cheqd.omniflix.co/",
    "bip44": {
        "coinType": 118
    },
    "bech32Config": {
        "bech32PrefixAccAddr": "cheqd",
        "bech32PrefixAccPub": "cheqdpub",
        "bech32PrefixValAddr": "cheqdvaloper",
        "bech32PrefixValPub": "cheqdvaloperpub",
        "bech32PrefixConsAddr": "cheqdvalcons",
        "bech32PrefixConsPub": "cheqdvalconspub"
    },
    "currencies": [
        {
            "coinDenom": "CHEQ",
            "coinMinimalDenom": "ncheq",
            "coinDecimals": 9,
            "coinGeckoId": "cheqd-network"
        }
    ],
    "feeCurrencies": [
        {
            "coinDenom": "CHEQ",
            "coinMinimalDenom": "ncheq",
            "coinDecimals": 9,
            "coinGeckoId": "cheqd-network",
            "gasPriceStep": {
                "low": 50,
                "average": 75,
                "high": 100
            }
        }
    ],
    "coinType": 118,
    "beta": true
}